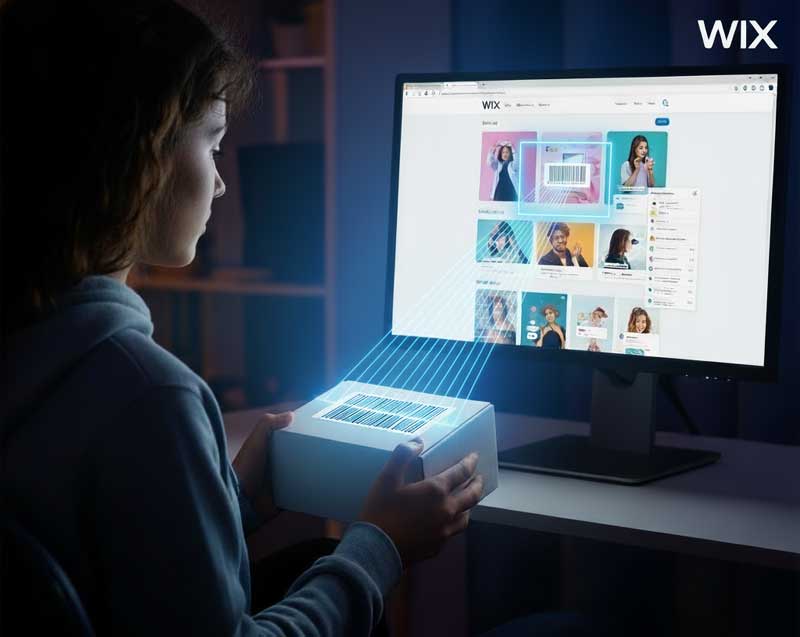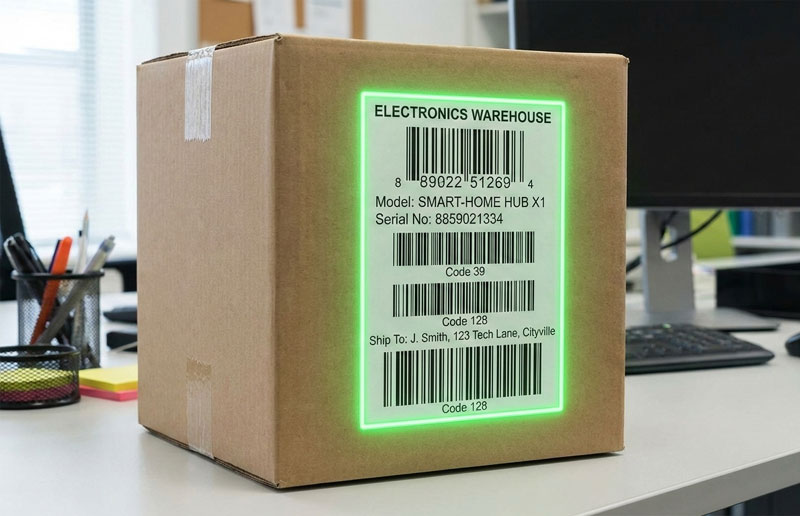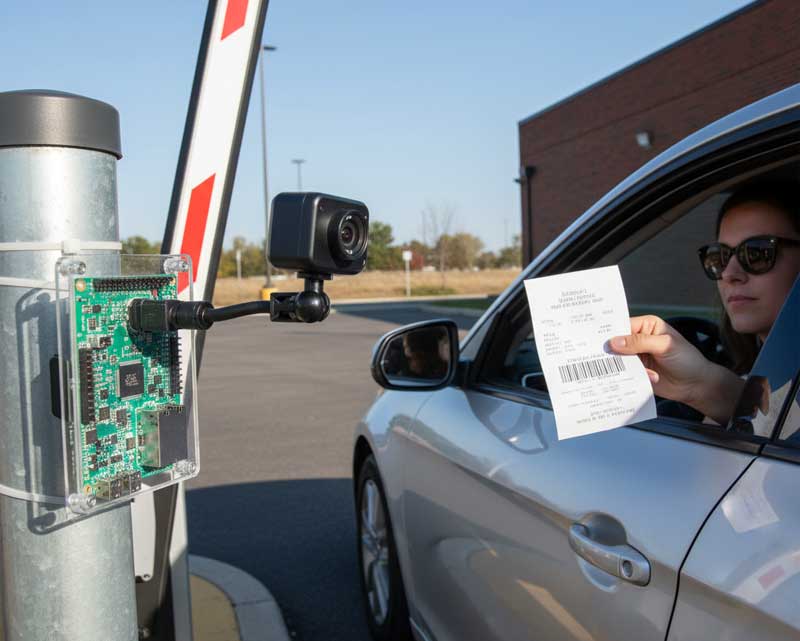
If you’re building your website using Wix and want barcode scanning, DataSymbol’s Web SDK provides two simple options for embedding a barcode scanner. With this guide, you can learn from both methods by either getting into a simple embed or more custom elements and event handling control.
Why Add Barcode Scanning?
Bar code scanning on your Wix site integrating into your system is capable of powering functionality like:
• Cameras scanning your forms quickly populating a form with user input form fields.
• Storing control or checking stocks from the front‐end.
• Customers able to scan product codes, coupons or QR code just from your web page.
With DataSymbol’s Web SDK, this is a complete solution and the user doesn’t need to download a separate application—it all flows in the browser (iframe as well as a custom element) using the device camera.
Two Integration Methods.
There are two main strategies, the handbook says:
- Hosted Web Barcode Scanner – embedded based on HTML/iframe.
- Custom Element (Developer Mode) – event centric, more of an integrated element.
Method 1: Hosted Web Barcode Scanner via Custom Code
This method uses a script + iframe embed. Steps:
- In your Wix site dashboard go to Settings → Advanced → Custom Code.
- Choose to add code in the “Body – Start” section.
- Paste a JavaScript snippet that sets up an iframe which points to DataSymbol’s hosted scanner service. The snippet includes settings for:
- camera resolution (resx, resy)
- allowed barcode types (e.g. Code128, Code39, EAN13, UPCA, QRCode)
- frame time (frequency of scanning)
- alignment (left, right, top, bottom, or none)
- opacity, extra styling, etc.
- Also in the script is a message listener (window.onmessage) that listens for scanned barcode data, decodes it, and places the result into a form input on your page. You’ll need the correct HTML id of that input element.
One caveat: in Wix, the IDs you see in the editor often change when published. To find the correct ID:
Open the live site in a browser → open DevTools (Ctrl+Shift+I) → locate the input element → note its actual HTML id. then use that in the script.
- Publish your site. Once live, users should see the scanner and scanning results will populate the target input field.
Method 2: Using a Wix Custom Element (Developer Mode)
This method gives more structure and uses Wix’s built-in custom elements + JavaScript event handlers.
- Enable Developer Mode in your site editor. This unlocks features like custom elements and allows you to write your own page-code.
- Add a Custom Element via Embed Code → Custom Element. Place it wherever you want on the page.
- Configure the Custom Element:
- Source URL: https://websdk.datasymbol.com/srvhost/wix/wixDataSymbolScannerElement.min.js
- Tag Name: datasymbol-scanner
- Adjust settings via attributes (e.g. scanner settings). The settings are provided in JSON format, similar to the hosted option.
For example
If you want to limit to only QR codes, you can set “barcodeTypes”: [“QRCode”].{ "scanner": { "key": "" }, "viewport": { "width": 320 }, "camera": { "resx": 640, "resy": 480 }, "barcode": { "barcodeTypes": ["Code128", "Code39", "UPCA", "EAN13", "QRCode"], "frameTime": 1000 } } -
To handle the scanned result, use Wix’s page code
- In your page’s onReady function, select the custom element by its ID
- Attach an event listener on(‘DataSymbolBarcode’, (event) => { … })
- From event.detail, get decoding results, convert from raw data (if needed) to string, then put into a target input field.
- Finally, you can dynamically change settings (for example barcode types) after startup, via code such as:
$w('#customElement1').setAttribute('ss', '{"barcode": {"barcodeTypes": ["QRCode"]}}');
This allows you to switch modes without reloading the page.
Pros and Cons of Each Method
Method Pros Drawbacks Hosted iframe & script Quick to set up; minimal Wix dev skills needed; works broadly Might require messing around with HTML IDs; less control over layout; styling may be more inflexible Custom Element Cleaner integration; better event-based control; more flexible; IDs are more stable via wix code Slightly more setup; requires enabling Developer Mode and writing page-code; possibly a steeper learning curve if unfamiliar with Wix’s APIs
Tips & Best Practices
- Test on real devices (mobile/tablet) as camera permissions & capabilities may differ.
- Consider privacy & permissions: ensure users are aware and consent to camera access.
- Optimize performance: smaller viewport resolution can improve speed; you may reduce barcode types for faster detection.
- Graceful fallback: in case camera is unavailable, handle errors gracefully (e.g. allow manual input).
- Styling: make sure the scanner UI (iframe or custom element) matches your site’s design (alignment, size, opacity, border).
DataSymbol’s Web SDK gives Wix site builders a flexible, browser-based way to integrate barcode scanning. Whether you choose the quick embed or a more integrated custom element approach, you can enable scanning features that interact with form inputs and page logic. With some attention to IDs, settings, and layout, this adds powerful functionality to sites built with Wix without needing native mobile apps.
Ready to get started?


