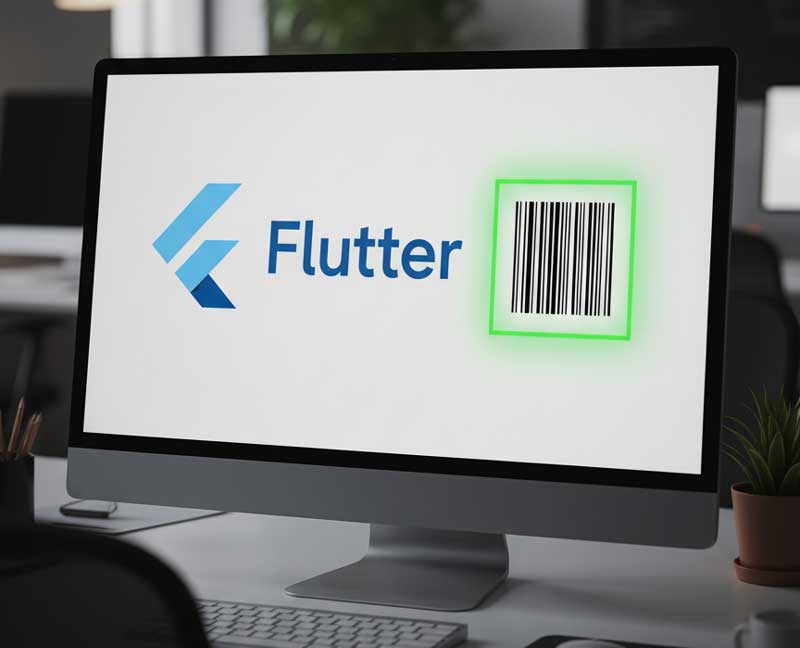
DataSymbol’s Web SDK enables barcode scanning via the browser, using WebAssembly + JS. In a Flutter Web app, since Flutter compiles to HTML/JS/CSS, we can integrate this SDK via JavaScript interop—embedding the scanner UI over (or alongside) Flutter’s canvas.
When & Why Use It
- You want barcode scanning in a web application (as opposed to mobile-native Flutter).
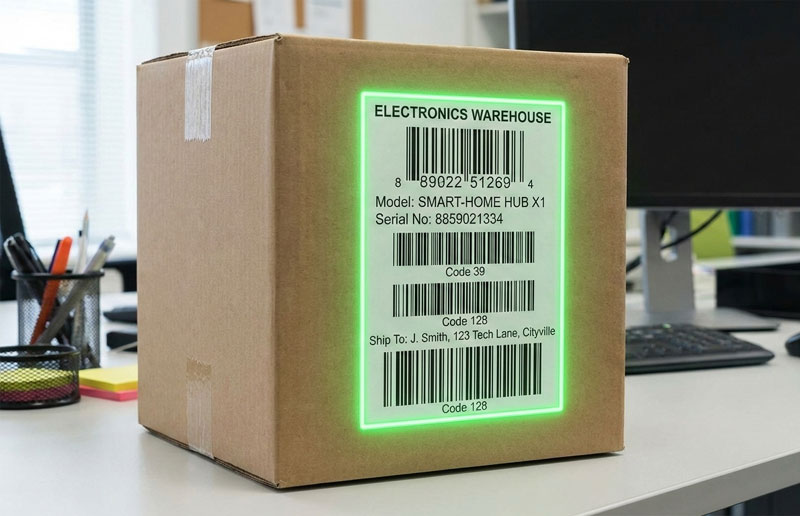
- You need support for many barcode types (Code128, EAN, QR, etc.).
- Prefer off-the-shelf SDK rather than writing your own JS barcode detection.
Setup / Getting Started
Here are the steps to integrate DataSymbol Web SDK into your Flutter Web project.
1. Download the SDK files
From the DataSymbol site, download the package. Out of all the files, you will need at least:
- datasymbol-sdk.wasm
- datasymbol-sdk-hlp.min.js
2. Put SDK files in the web/ folder of your Flutter project
Place datasymbol-sdk.wasm and datasymbol-sdk-hlp.min.js into the web directory of your Flutter project. This ensures they are served when the web app is built.
3. Add a JS file to control the scanner
Create a file called for example ds_create_scanner.js in web/. This file will include the JS logic to:
- load / initialize the scanner
- select the camera
- handle barcode and error callbacks
- embed the scanner viewport in the page at specific position/size
4. Modify web/index.html
In <head> add script tags to load the SDK helper JS and your scanner setup file:
<script defer type=”text/javascript” src=”datasymbol-sdk-hlp.min.js”></script>
<script type=”text/javascript” src=”ds_create_scanner.js”></script>
This ensures the scanner code is available.
Integration with Flutter (Dart)
Since Flutter Web runs in browser, you can interoperate with JavaScript using Dart’s JS-interop features. The example from DataSymbol uses:
- @JS() to define external JS functions
- Dart extension types/interface to map JS objects (e.g. result, error) into Dart usable types.
Here are key Dart parts:
Define external JS functions
@JS()
external void embedScanner(int x, int y, int width, int height);

@JS()
external void updateScannerPos(int x, int y, int width, int height);

@JS()
external void addScannerCallback(JSString funcName, JSFunction dsFuncCallback);
Set up callbacks from JS
For example onBarcode and onError callback functions, which Dart side implements, then passed to JS via addScannerCallback.
Positioning / sizing the scanner viewport
The scanner overlay is an HTML element (div) positioned absolutely over/above the Flutter canvas. To align it correctly, the Flutter side needs to know where a placeholder widget is on screen. Typically you:
- give that placeholder a GlobalKey
- get its position & size (via RenderBox and findRenderObject, etc.)
- call embedScanner(…) with those values to position the JS viewport
- listen to metrics changes (window resize, orientation change) to adjust via updateScannerPos(…)
Displaying scan result
The result string (decoded barcode) is passed from JS callback. Dart updates UI accordingly.
Sample Flow
Putting it all together, here is a rough flow of what happens when your app runs in browser:
- Flutter loads; UI contains a placeholder (e.g. SizedBox) where scanner should appear.
- JS SDK gets loaded (datasymbol-sdk-hlp.min.js) and your ds_create_scanner.js sets up functions.
- When Flutter side is first ready (after layout), it:
- Registers the JS callbacks (for barcode, for error)
- computes position & size of placeholder
- calls embedScanner(…)
- JS:
- finds available video devices (cameras)
- picks one (back camera on mobile, or suitable on desktop)
- initializes scanner with settings (barcode types, timeouts, etc.)
- starts video stream and recognition
- when barcode detected, fires onBarcode event
- Flutter (Dart) receives event, updates UI with barcode string result. Also handles errors.
- If window is resized / device orientation changes or UI layout changes, Flutter recomputes placeholder position & size, calls updateScannerPos(…) so JS overlay follows.
Example Code Snippets
Here’s a summary (simplified) of typical code:
js: ds_create_scanner.js
var _scannerVariables = { … };

function onDSBarcode (barcodeResult) {
  … call _scannerVariables.onBarcode callback …
}

function onDSError(err) {
  … call _scannerVariables.onError callback …
}

function CreateScanner() {
  // settings: key, frameTimeout, camera, barcode types etc.
  DSScanner.Create(scannerSettings);
}

function embedScanner(x, y, width, height) {
  // create div with id, style (position, size etc.)
  // append to document.body
  // after that call GetVideoDevices, then CreateScanner etc.
}

function updateScannerPos(x, y, width, height) {
  // adjust style.left/top/width/height of the scanner div
}

function addScannerCallback(funcName, dsFuncCallback) {
  …
}
dart: main.dart (abridged)
import 'dart:js_interop';
import 'package:flutter/material.dart';

@JS()
external void embedScanner(int x, int y, int width, int height);
@JS()
external void updateScannerPos(int x, int y, int width, int height);
@JS()
external void addScannerCallback(String funcName, JSFunction dsFuncCallback);

void onDSBarcode(DSBarcodeResult dr) {
  // handle barcode
}

void onDSError(DSBarcodeError err) {
  // handle error
}

Rectangle<int> getBarcodeViewBox() {
  // use GlobalKey, RenderBox, localToGlobal to get x,y,width,height
}

void startUpFunction() {
  addScannerCallback('onError', onDSError.toJS);
  addScannerCallback('onBarcode', onDSBarcode.toJS);
  var rc = getBarcodeViewBox();
  embedScanner(rc.left, rc.top, rc.width, rc.height);
}
Advantages & Limitations
| Advantages | Limitations / Challenges |
| Supports many barcode types out-of-the-box. | Positioning overlay exactly may be finicky—especially across browsers or when UI layout changes. |
| Uses WebAssembly, likely good performance. | On some browsers/mobile devices, camera permission or compatibility issues may arise. |
| Reuses JS/SDK code; less reinventing barcode detection. | The overlay is separate from Flutter’s canvas, so interactivity or layout integration (z-order, responsiveness) takes extra work. |
| Good for web targets where native plugins don’t work. | File size, load time: wasm + JS may add bulk. Also latency or frame rates depend on camera and device. |
Tips & Best Practices
- Make sure to handle permissions: the browser will ask for camera access. Provide fallback or user guidance if denied.
- When building responsive UI, always recalc the scanner viewport size/position when layout changes. E.g. listen to window resize, orientation change, after Flutter’s build/layout.
- Provide feedback to user during loading (“scanner loading…”) so they know something is happening.
- For performance, choose a reasonable resolution for the camera (e.g. don’t always use max resolution if not needed).
- Limit the barcode types to only the ones you need (not everything) to speed up decoding.
- Test across browsers (Chrome, Firefox, Safari) and devices (mobile, tablet, desktop) to check camera support.
Summary
Using DataSymbol Web SDK in a Flutter Web app is quite feasible and they provide a detailed example. The key is embedding the JS SDK and overlay via HTML, then using Dart’s JS interop to manage callbacks and layout. With careful handling of positioning, resizing, permissions and UI feedback, you can build a solid barcode scanning feature for web.
Ready to get started?