Choosing printers, materials, and layout for reliable barcode readability.
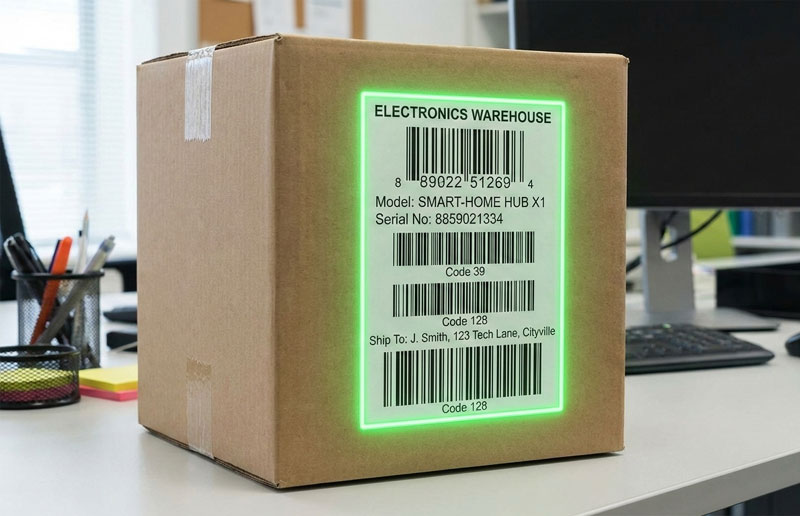
The value of a barcode is only as good as its readability. Barcodes that are poorly printed bring processes to a halt, slow down performance, and frustrate end-users. The barcoding best practices you follow when printing product labels, shipping labels, or asset tags the first time will work every time.
In this post, we will discuss the key components for high-quality barcode printing: printers, materials, and the barcode layouts for the best performance.
Select a Printer that Fits Your Needs
Not all printers are made for creating barcodes. It depends on the type of barcode, where they are printed, and how much you print.
Thermal Printers (Direct Thermal & Thermal Transfer) Common:
- Ideal for high-quality, high-quantity barcode printing.
- Produce sharp, consistent images.
Thermal Transfer: This is the adhesive way to go if your label will be for long-term use (such as in a hot kitchen). Holds up to heat, moisture, and chemicals.
Direct Thermal: Perfect for short-term use such as shipping labels.
Laser Printers:
- Great for office and low-quantity printing.
- Ensure the printer resolution is greater than or equal to 600 dpi for small barcode levels.
Inkjet Printers:
- Works well for low-volume printing, but the quality may lack some sharpness and may smudge.
- Use pigment-based inks instead of dye-based inks to achieve longer-lasting prints.
Tip: Make sure you look at the DPI of the printer. A higher resolution is needed for the sharp edges used in 2D barcodes, such as QR Codes or DataMatrix.
Select the Right Label Material
Readability of the barcode: The material and surface condition are the most important factors affecting barcode readability.
Paper Labels:
- Affordable and work best for indoor use.
- Not good for wet, oily, or outdoor conditions.
Synthetic Labels (Polyester, Polypropylene, Vinyl):
- Excellent durability.
- Resist moisture, chemicals, and abrasion.
- Best for industrial use or long-term applications.
Adhesives:
- Select permanent adhesive for enduring projects.
- Use removable adhesive labels for temporary identification needs.
Tip: Keep the environment (temperature, sunlight, and chemicals) in mind when deciding on material.
Design Barcodes for Maximum Readability
Even with a high-quality printer or labeling software, poorly designed barcodes will cause problems when scanned. Follow these guidelines:
- Use Correct Size: Never resize barcodes smaller than manufacturer minimums. For linear barcodes (such as Code 128), adjust the x-dimension (narrow bar width) to match the printer resolution.
- Include Quiet Zones: Ensure sufficient space (quiet zone) around the barcode for scanner accuracy.
- High Contrast: Black and white will give the highest contrast. Avoid low contrast colors like red on white or blue on black.
- Orientation Matters: In thermal printers, use “picket fence” orientation (bars are perpendicular to the print head direction) for sharper edges.
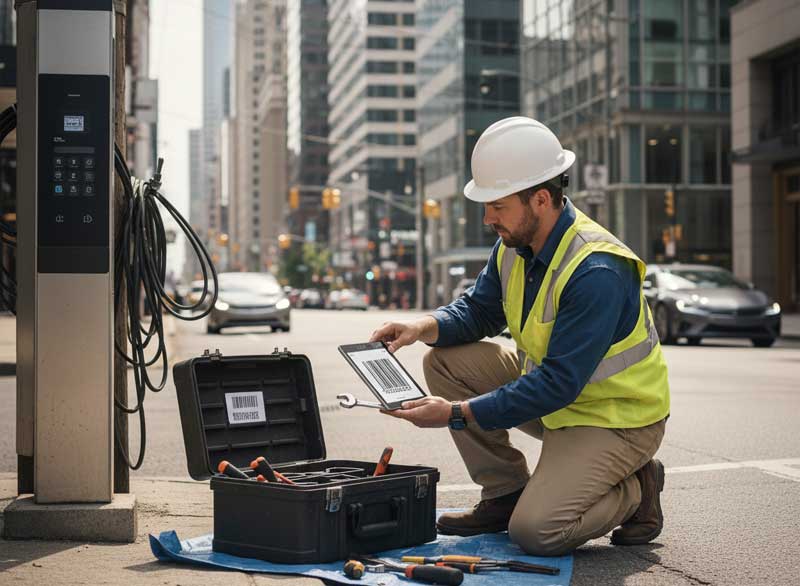
- Test Before Mass Production: Print sample labels and verify with a barcode verifier or scanner.
Regularly Maintain Your Printer
- Clean the printhead regularly to prevent streaks or missing bars.
- Change worn-out parts (printheads, rollers) as per the manufacturer’s suggestion.
- Use genuine, high-quality ribbons and labels rated for your printer.
The success of a barcode lies in the printer used and matching available material to the printed barcode. Optimizing these aspects will make the scanning process smooth, minimize errors, and increase productivity. By adhering to these guidelines, you will ensure your barcodes are readable throughout their useful life—whether scanned in a retail store, warehouse, or factory.
Ready to get started?
Barcode Creation Tools Barcode Scanning Tools